Safe handling of mainsprings is a necessary skill for the clock maker. James Marten demonstrated many of the techniques involved at a meeting in 2013 and is described below. Videos of James handling mainsprings can be seen here.
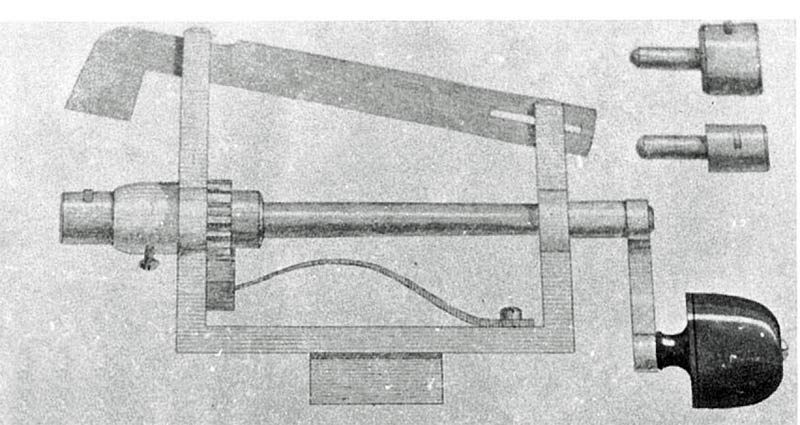
- Mainspring winder with reversible ratchet
James Marten, our glorious leader, took to the bench with a mainspring which had been pulled out of its barrel causing a permanent set. “This is not acceptable” he said, peering over the top of his glasses sternly at the audience and then explained that a mainspring winder could prevent this evil and should be considered an essential bit of kit for any clockmaker’s workshop.
He than produced his mainspring winder, similar to the example illustrated above and a fusee barrel with mainspring inside. Once the cap had been popped off and the mainspring fully wound, James took a pair of short-nosed pliers to grip the end of the spring before removing the barrel – the shorter the nose of the pliers the greater the grip. The spring was kept from unfurling by hand and inspected for sharp edges before being released slowly – during the process being careful to position his body so that he was out of harms way. The spring had a slight set to it and James then demonstrated how it was possible to reduce this by careful systematic bending and corrected the shape so that it would develop inside the barrel with out scraping either end.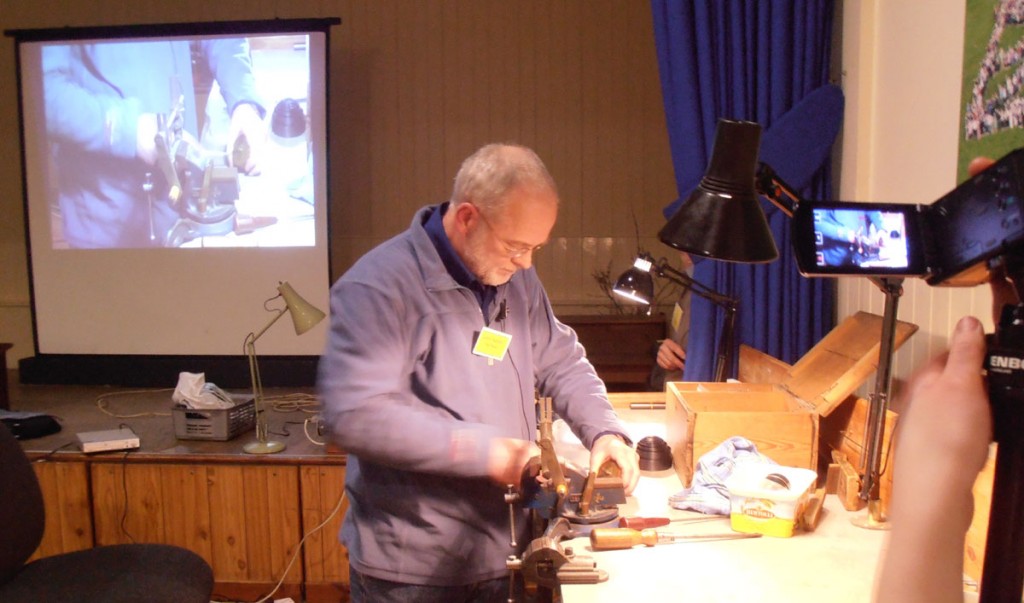
We were then shown a new spring, which was released from its binding, wiped and checked. The first and most important thing was to make sure that the hooking was central and of the right shape. The hooking should, ideally have a flat edge to receive the barrel hook so that it can find its centre inside the barrel and most new mainsprings have oval hole, which prevent this and therefore should be carefully filed to shape -ensuring that no sharp edges are left – and bent so that they readily meet the hook. Once the spring was wound up and fitted to the barrel, the arbor was then fitted and gripping the square with a pair of parallel pliers, James checked to see if it engaged properly with the end of the spring – which it did. The spring was oiled lightly to the tops of the turns, using engine oil, definitely not lacquer (you had to be there) and the cap replaced. The square was then help in the vice and the barrel checked for endshake. James wound up the spring, pausing every now and then to check the endshake. When it was fully wound with equal endshake at every stage, it was allowed to unwind and judged ready for purpose.
Concluding his demonstration, James explained how to measure a mainspring with a view to replacing it. Using a bench micrometer, he checked its thickness and a ruler to check the height, as well as the barrel’s inside diameter.
James managed to make, what can be quite a terrifying job for the inexperienced workman, look safe and easy – the mark of a true professional!